
Knowing how to screenshot on Mac is essential and should be noticed. You’ll need this knowledge from time to time, and fortunately, it’s a simple process that needs to be seen.
The most basic way to take a screenshot on a Mac is by pressing and holding three keys together: Shift, Command, and 3. This will instantly capture a screenshot.
If you want to edit the screenshot, you can quickly locate a thumbnail in the corner of your screen and click on it to access the editing options.
Regardless of the type of Macbook you have, whether a MacBook Pro, MacBook Air or iMac, the methods to take a screenshot on a Mac remain the same.
In this Techblogwiki article, we will guide you on how to screenshot on Mac. Additionally, we will discuss how to capture a specific portion of your Mac screen and provide tips for editing Mac screenshots.
Let’s get started.
What is Screenshot on a Mac?
A screenshot on a Mac is an image capture of your computer screen at a specific moment. It allows you to freeze and save what is displayed on your Mac’s monitor(s) as a digital image file.
Screenshots can be helpful for various purposes, such as documenting information, sharing your screen with others, troubleshooting issues, or saving essential visuals.
Mac offers multiple methods and keyboard shortcuts to take screenshots. These options allow you to capture the entire screen, a transparent portion of the screen, or a particular Window.
Once captured, these screenshots are typically saved as image files on your computer, usually in PNG format. This makes it easy to view, edit, or share them.
Screenshots on Mac are a versatile tool for everyday tasks and professional needs. Knowing how to take screenshots efficiently can be valuable for Mac users.
You can customizes and enhances screenshots with various customization options. For that you can check our article on how to customize your screenshots with uziard.io.
How to Screenshot on Mac With Keyboard Shortcuts?
Mac offers keyboard shortcuts for taking screenshots on almost all your Mac devices, including MacBook laptops, iMac all-in-ones, and Mac Mini and Mac Studio desktops.
You can utilize these shortcuts to quickly capture screenshots of your entire screen, a specific screen section, or even a particular window.
1. Capture the Entire Screen
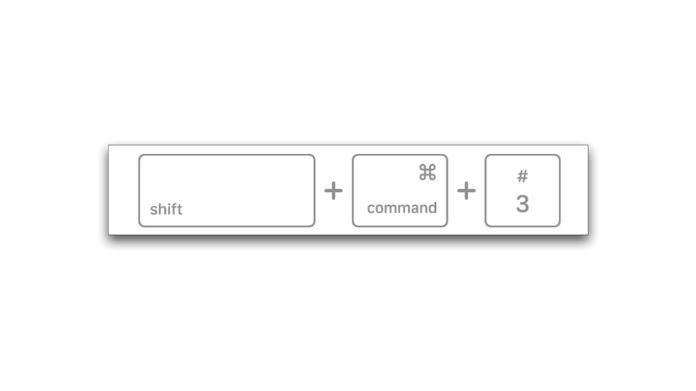
Step 1: Press and hold the “Command“, “Shift“, and “3” keys simultaneously to take a screenshot of your entire screen.
Step 2: A floating thumbnail will appear in the bottom-right corner of your screen. You can swipe it away or let it disappear, and it will be automatically saved to your desktop. Alternatively, you can click the thumbnail to open it in a new editing window to crop, draw, type, or share the screenshot.
2. Take a Partial Screenshot
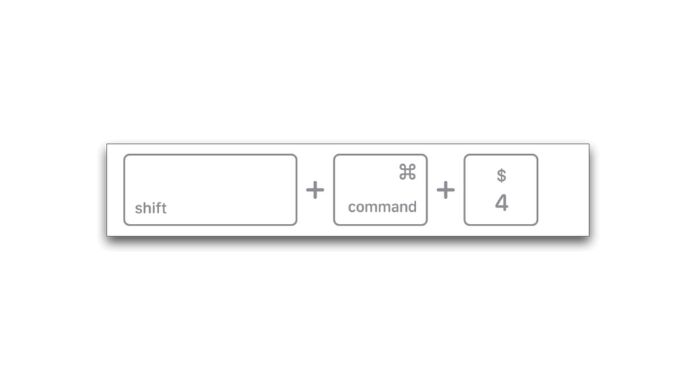
Step 1: Press and hold the “Command“, “Shift“, and “4” keys simultaneously.
Step 2: Your mouse cursor will turn into a crosshair. Drag it to select the specific area you want to capture. Once you’ve chosen it, release the mouse button to take the screenshot.
Step 3: You may see a thumbnail in your screen’s corner. Click on it to edit the screenshot or wait for it to be saved to your desktop.
3. Capture a Specific Window
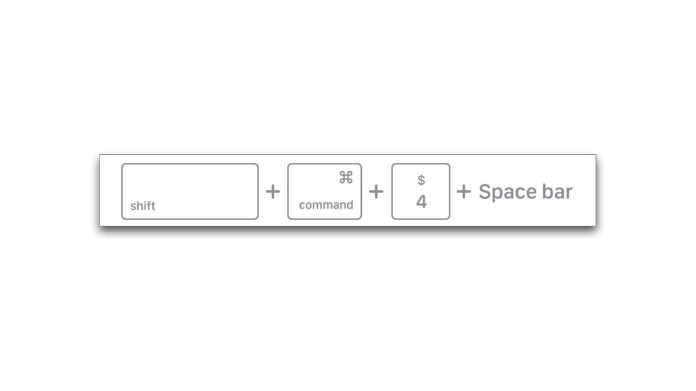
Step 1: Launch the window you wish to capture.
Step 2: Press and hold the “Command“, “Shift“, “4“, and “Space bar” keys simultaneously.
Step 3: Your mouse cursor will transform into a camera icon. Click on the window to capture it.
Step 4: A thumbnail will be displayed in the corner of your screen. Click on it to edit the screenshot or wait for it to be saved to your desktop.
How to Screenshot on Mac Using the Touch Bar?
You can easily take screenshots using a MacBook Pro with a Touch Bar. With a straightforward click, you can add the screenshot feature to your Touch Bar and capture anything on your Mac’s screen.
1. How to Screenshot on Mac Using the Touch Bar?
You can add the screenshot button to your Touch Bar to quickly take a screenshot. Follow the steps below:
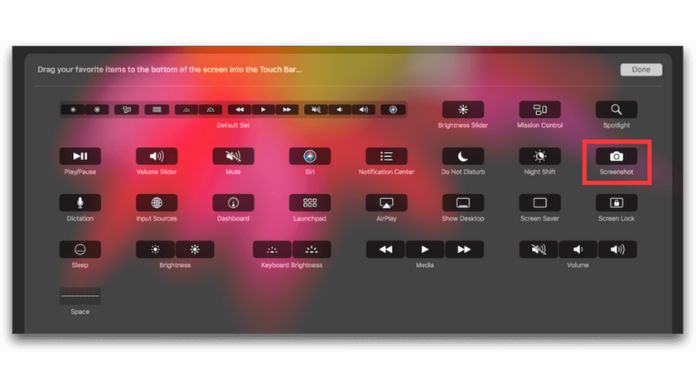
Step 1: Go to the “Control Strip” section of the “System Preferences” menu and select the “Screenshot” option.
Step 2: Use the “Customize Control Strip” button to add the “Screenshot” button to the Touch Bar.
Step 3: When you tap the “Screenshot” button on the Touch Bar, you can capture a selected portion, a window, or the entire screen. The screenshot will be saved to your screen.
2. How to Capture a Screenshot of the Touch Bar?
If you want to take a screenshot of your Touch Bar, press the “Command + Shift + 6” keys. This will capture the entire Touch Bar and save the screenshot to your desktop.
Final Note
So this is all about how to screenshot on Mac. Taking screenshots on a Mac is a simple process with multiple options to meet your needs. Mac offers convenient shortcuts and tools to make the process efficient and versatile, whether you want to grab the entire screen, a specific area, or a particular window.
Whether you’re documenting your work, troubleshooting an issue, or sharing something interesting, these screenshot methods will assist you in capturing and communicating effortlessly.